Photo Courtesy of VIN/Canto Library
Observing, understanding, and respecting body language is essential to strengthen and maintain the relationship with your dog. By understanding their needs, you can provide the best care and know when your dog is comfortable in a situation. Accurately interpreting body language can help you live safely with dogs and avoid behavior problems that could harm your relationship.
By watching your dog, you will see them use their body position, ears, eyes, tail, lips, and vocalizations to communicate with you and the world around them.
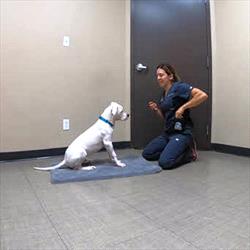
Relaxed Dog Body Language
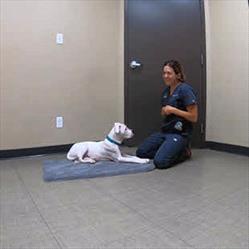
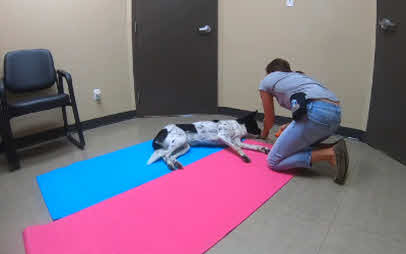
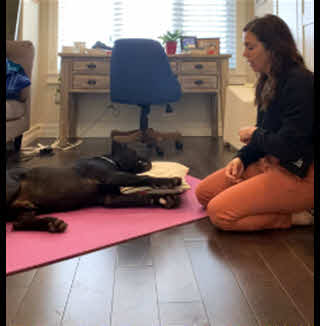
A relaxed dog has “loose” body language. Their ears may be in a neutral position or forward if attentive and alert. Their eyes should be soft, not fixed on a particular object or staring. Their tail will be in a neutral position or wagging widely from side to side. Their mouth will look relaxed, not clenched or tense.
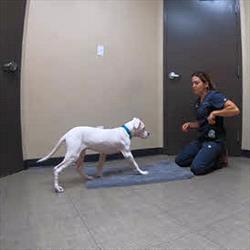
Attentive Dog Body Language
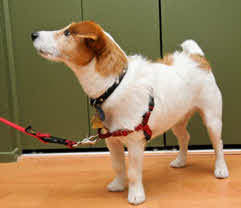
Photo Courtesy of VIN/Canto Library
An attentive, alert dog holds their ears forward and upright. Evaluate your dog’s entire body since their ears are only a part of the picture. Your dog could be attentive and in a positive emotional state during a training session with forward ears and an upright tail. Instead, they could be hypervigilant to an approaching stranger with ears forward, looking around quickly and assessing their surroundings. A tucked tail may indicate anxiety. They may have a front paw lifted while deciding whether to move toward something or away from something. They may be watching a squirrel with their ears forward, eyes focused and staring, the tail up and only wagging slightly at the tip. Their hair may be standing along the midline of their back indicating a state of attentiveness.
Fearful Dog Body Language
If subtle signs of fear and anxiety are recognized and addressed early, obvious signs of fear and aggression can be avoided. If ignored, their body language may escalate because the dog learns their previous subtle signs are not effective, causing behavior problems and safety concerns.
Subtle fearful signs include lip licking, facial tensing, hair raising especially along the midline of the back, ears positioned backward and flattened, and eyes wide open. They may avoid eye contact and the tail may be tucked under the dog’s body.
A Final Note About Respecting Body Language
Consider safety first when signs of fear, anxiety, or aggression are seen. Punishment is not a humane or effective strategy and could potentially worsen the behavior problem. If you need help with managing these situations, work with a qualified behavior professional. Click on the link to learn more: How to Identify a Qualified Trainer or Behavior Professional.
|
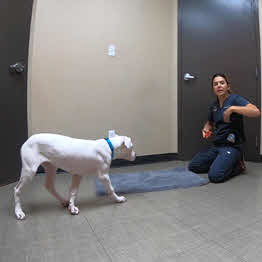
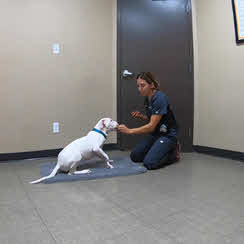
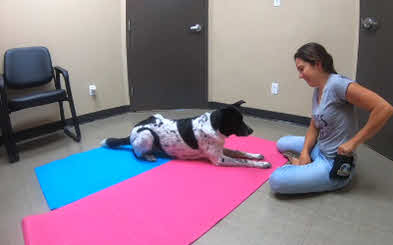
This dog is showing subtle signs of fear. The dog is licking their lips, and their ears are held back. Overall, the body appears tense.
Photo Courtesy of VIN/Canto Library |
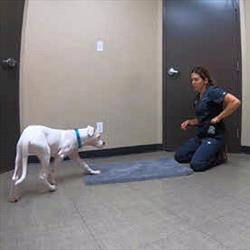
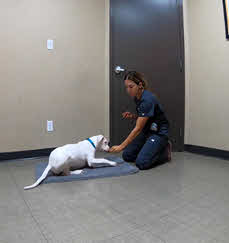
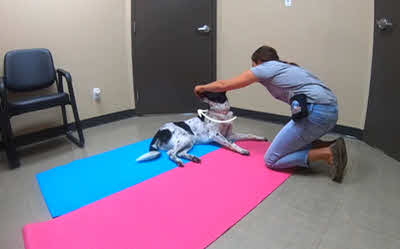
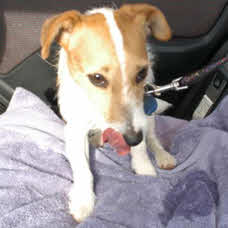
This dog is showing escalating signs of fear. Their body is tucked and tense with pinned back ears, tightly closed mouth, tucked tail, and wide eyes with an averted gaze.
Photo Courtesy of VIN/Canto Library |

|
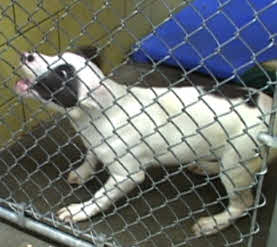
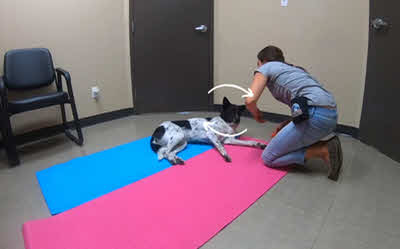
More obvious signs of fear and aggression include baring of the teeth, growling, snapping, or biting. Here, the dog’s ears are pinned back and the body is tense. Their eyes are wide open with the white part of the eye showing, known as “whale eye”. Although the tail is not seen in this photograph, it is likely either tucked under their body or upright.
Photo Courtesy of VIN/Canto Library |
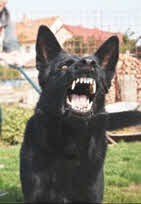
This dog is showing overt signs of aggression. Their teeth are bared, their ears are erect and forward, and their body is tense.
Photo Courtesy of VIN/Canto Library |