Fear is a normal emotional response in dogs that can be from a real or perceived threat. Some dogs respond with subtle behaviors that seem shy, approaching with their head carried low, ears to the side or held flat, brow furrowed with a worried look, and eyes closed or blinking. Their mouth may seem tight, or they are licking their lips or yawning. Their tail may be lowered and slowly wagging.
For other dogs, the fear is more obvious because they will hide, run away or freeze in place. These dogs often avoid eye contact and may tremble. Their tails are often tucked, and they may pant or stand completely still with their mouth closed tight and body tense. When cornered, these dogs may snap to get away and bark, charge, lunge, snap or bite. These behaviors are often misunderstood as aggression.
Help shy and fearful dogs feel safer by building trust and teaching skills to manage their fear.
- Keep a Log
Know what triggers your dog’s fears and keep a log to help avoid those triggers. It will also help your veterinarian decide if medication is beneficial. If triggers are hard to identify or manage, a daily anti-anxiety medication may be needed. When you know your dog’s triggers but cannot avoid them, medication can be given as needed.

- Establish a Safe Haven
Your dog can retreat to a bedroom, closet, or covered kennel to feel safer. Make sure this area is away from the normal traffic pattern in the home and has warm, soft bedding. Encourage your dog to go to this area where good things happen, such as treats given daily. This spot should be a “No Kid” and “No Stranger” zone. - Avoid Using Punishment
Your dog is scared and may be responding to a threat the only way they know how. Punishing the growl, telling them “No” or “You should know better” can sometimes make the behavior worse. Notice what might be causing your dog to feel uncomfortable and encourage your dog to move away from the threat by calling them to you and rewarding them. Reward the growl and encourage it because this is information from your dog that is not yet a bite. - Food Dispensing and Puzzle Toys
These toys are a great way to build your dog’s self-confidence, helping them to problem solve while encouraging them to explore their environment. When you find a food puzzle your dog likes, feed them one meal out of it every day and change it up by freezing the food or using the grass as a natural snuffle mat. - Build Trust
Building trust is an important part of our relationship with dogs. We need to respect their needs and normal canine social behaviors. Some dogs don’t enjoy being hugged or kissed. Don’t invade your dog’s personal space unless invited. Always ask them to come into your space first. Be respectful if that answer is no.

- Positive Interactions are Important
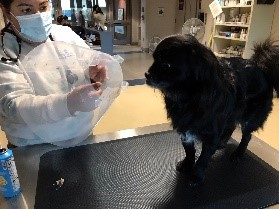
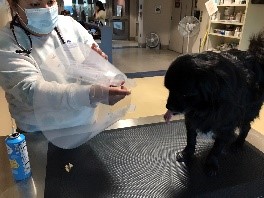
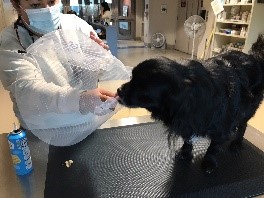
For people, shaking hands and direct eye contact is polite social behavior. In the dog world, hands reaching for them or direct eye contact can be rude or scary, triggering a fearful response. Tossing treats behind your dog gives them an opportunity to return for more instead of forcing them to take treats from a new person’s hand. Playing a game of fetch or tug or throwing a disc can build relationships while having fun.
|
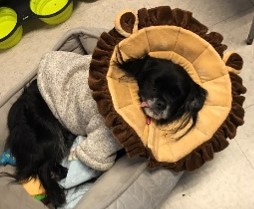
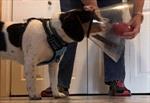
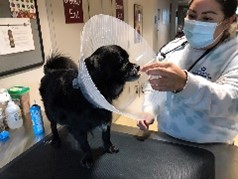
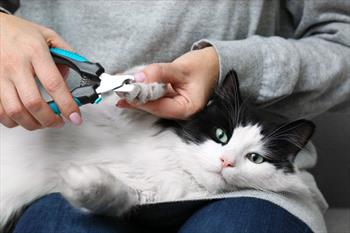
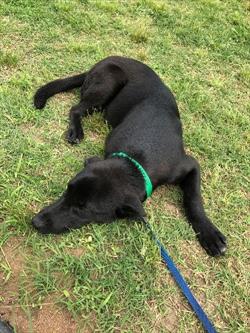
Photo courtesy of Christine D. Calder, DVM, DACVB
|
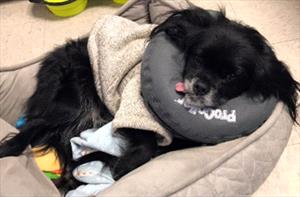
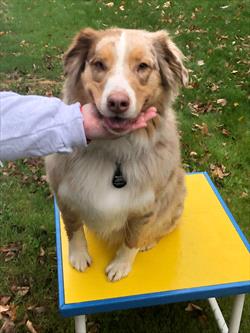
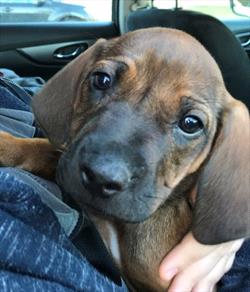
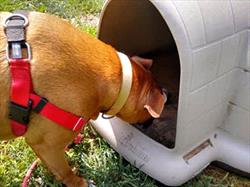
Photo courtesy of Christine D. Calder, DVM, DACVB
|
- Respect Your Dog’s Choices
Dogs need some control over a situation and the opportunity to say no or fear can rapidly turn into worry. Watch your dog’s body language closely to recognize when they become overwhelmed and feel trapped. If you notice your dog is cautious, move your dog away until they are more comfortable.
- Stop the Walks
If your dog is hesitant to go on walks, doesn’t want to leave the yard or go for a car ride, don’t force them. Traffic, people, weather, and strange noises can be scary. Give them time to feel more confident.
|
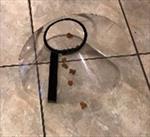
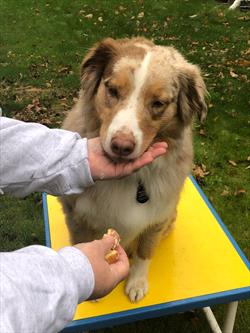
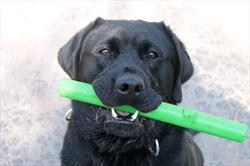
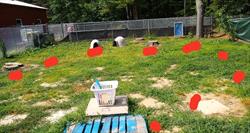
Nose work course. Photo courtesy of Ben Bricker.
|
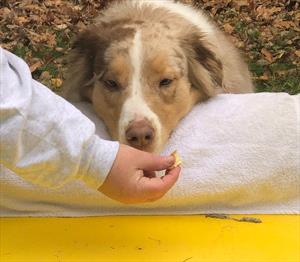
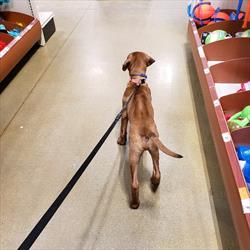
Photo courtesy of Ben Bricker
|
Try playing games in the yard, go for sniff walks in quiet and safe locations, or do nose work exercises (find hidden scents around the yard or house) instead.
- Focus Behaviors
Your dog’s ability to predict your behavior will increase with focus behaviors such as eye contact, targeting, and a chin rest.
These behaviors also give your dog a clear way to communicate with you when they are starting to feel overwhelmed and afraid.
- Foundation Behaviors
Conditioning relaxation on a mat will give your dog a safe haven that you can bring with you to places like the vet, in the car, on vacation, and in a crate. This conditioning is a building block for more advanced behavior modification.
When it comes to shy and fearful dogs, remember that these dogs will often show improvement over time once you become more predictable in your interactions with them and they learn the routine. Take note if your dog is not improving. Sometimes medication will still be needed to help your dog feel safe.