All photos courtesy of Sandra Robbins.
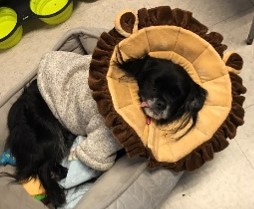
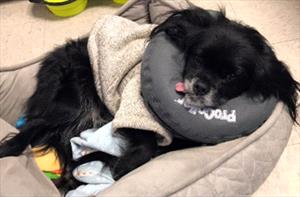
Elizabethan collars (sometimes referred to as “cones of shame”) are necessary tools to keep pets from licking a surgical site, wound, or hot spot; chewing off bandages or splints; or scratching their ears or face. By desensitizing your dog to wearing a cone, it will be less stressful for your pet if and when they need to use one. Several types of cones are available, some of which are more comfortable for the animal.
The method detailed below is illustrated with a clear plastic cone and a dog but it works for all types of cones and applies to both dogs and cats.
Getting your pet used to the cone:
Desensitization is only effective if your pet remains calm. If your pet becomes distressed, you will need to find a way to make the training easier.
Step 1: Introduction
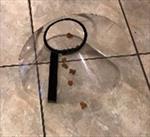
- Leave the cone assembled in a corner of a familiar room
- Place it wide part down so that it is least likely to move
- Put treats around the outer rim of the collar
- Once a day check on the cone and put out new treats if your dog ate the previous treats
- If your pet is comfortable approaching the cone for treats, proceed to the next step
Step 2: Interaction
- Lay the cone on its side
- Put treats in and around the cone
- Encourage your dog to approach and get treats from the cone
- Your dog should see this as a game and want to move the cone for the treats
- Repeat as necessary to increase your dog’s comfort with the cone
Step 3: Hold the cone
- Encourage your dog to approach you while you hold the cone
- Choose to feed with either the hand holding the cone or the free hand based on your dog’s comfort
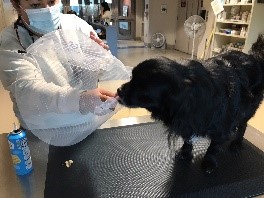
- Gradually work on getting your dog to approach the narrow opening and eat treats held in a hand in the cone
- Start with a hand in the cone, eventually moving the hand away from the narrow opening so your dog has to place their head through the narrow opening of the cone to eat the treats
- For dogs who are afraid of the cone while it is in your hand, back up to step 2 or try leaving it on the floor and steadying it with your hand so they can approach it and eat the treats. You could also try using a higher value treat.
- Repeat this step, only if your dog is eagerly participating
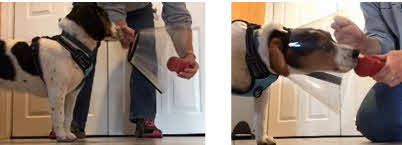
Step 4: Head in the cone
- Hold the cone as in step 3
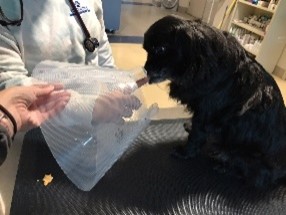
- Have your treat hand inside the cone far enough away from the narrow opening that your dog has to put their head all the way through the narrow opening to get the treats
- Hold the cone so your dog can back out comfortably without the collar getting stuck on their head
- Repeat this step encouraging your dog to slip their head in and out of the cone with ease
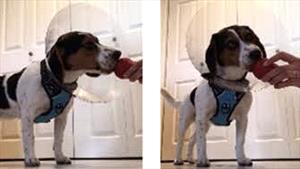
Step 4b: Emma reaches her head all the way through the cone to get the treat.
Step 5: Wearing the cone
- Repeat the process from step 4, but this time allow the cone to rest on your dog’s neck and feed them treats
- If your dog is comfortable, feed them treats
- If not, help them out of the cone and back up to an easier step
- If they can keep the cone on, encourage your dog to walk to get a treat
- Repeat this process so that your dog can feel comfortable wearing the cone and walking around the house
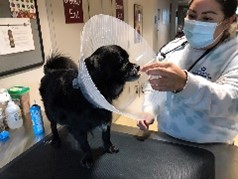
5b: Emma is able to walk while wearing the cone.
Finding an approach that will work for Rocco:
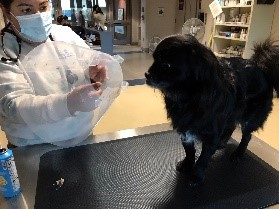
Rocco is being offered some canned cheese spread to get him to put the cone on. Notice how he leans away and turns his head, showing hesitancy.
Rocco approaches to investigate and decide if it is something he wants.
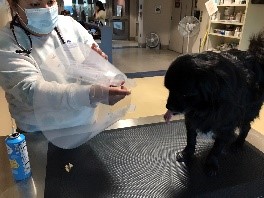
Rocco decides that the exercise is too hard and backs away without getting a treat. Notice how he is licking his lips and is standing farther from the cone. To make it easier for him, Dr. Sample moves her hand towards the cone opening.
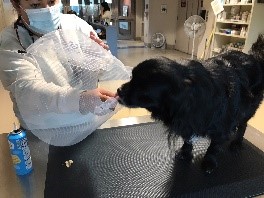
Rocco decides it is better and approaches to take the treat.
Now Rocco relaxes near the cone while eating the canned cheese spread.
When we found the approach that worked for Rocco, he was able to eat treats with the cone on.


